Materials Needed
Drawing a cherry blossom tree starts with the right tools. You’ll need something to draw on, such as paper, sketchbook, or canvas. If you want to add color, gather up the supplies needed for such; such as colored pencils, markers, crayons, or paints. You’ll need an eraser in case any adjustments need to be made, and you may also want something to use as an outline, such as a ruler.
Drawing The Tree
When beginning to draw a cherry blossom tree, it helps to place your supplies in an area that is comfortable and well-lit. Then, start by creating a strong base for the tree. Start by drawing a simple trunk and the limbs of the tree. Make sure your limbs have a realistic twist and bow to them; this will give your cherry blossom tree a more natural look. Once you have drawn in the trunk and limbs of the tree, it’s time to add some details. Get creative and add some details such as gnarled bark and branches.
Adding The Leaves
The next step is adding the leaves to the tree. Every branch and twig should have a few leaves on them. Start at the bottom of the tree and slowly work your way up. When outlining the leaves, use gentle curves rather than straight lines. The leaves should be drawn randomly, but should still create a pattern and symmetry.
Adding The Blossoms
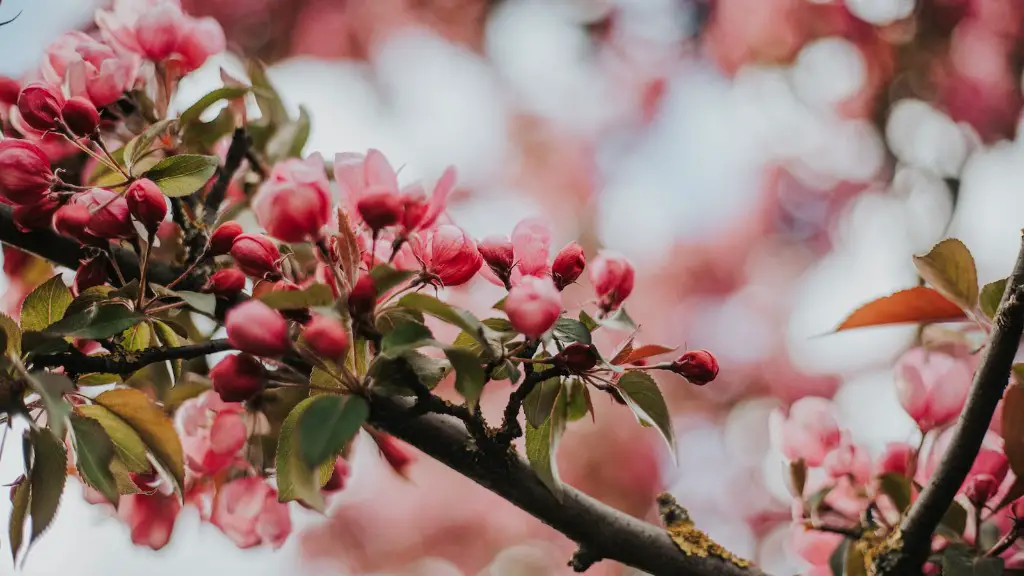
Adding the blossoms is perhaps the most fun part of drawing a cherry blossom tree. Start by evenly distributing the flowers throughout the tree, making sure they are all facing either left or right, depending on which way the tree is facing. Then use a curved line to create petals. Imagine each flower has four petals and around five to eight of these petals for each flower. Use the same method for creating the flower centers.
Adding Color
Adding color can be the finishing touch to a successful cherry blossom tree. The traditional colors for these flowers are pink and white, but of course you can use other colors too. If you want to add details like stamens and bracts, you can do so while adding in color.
Using Different Mediums
Drawing a cherry blossom tree isn’t limited to just pencils and paper; there are different mediums you can use to create a stunning, creative design. For example, if you want to try a more abstract version of a cherry blossom tree, why not try using watercolors? Or if you want to create a more three-dimensional look, try using clay.
Finishing Touches & Display
The final step to drawing the perfect cherry blossom tree is adding a few finishing touches. You can use light shading for a stronger effect and create a few clumps of flowers by using tiny circles to create the center of each flower. Once you have added the finishing touches, you can display or frame your tree so you can enjoy your masterpiece.
Creative Options
Drawing a cherry blossom tree can be a fun and creative activity. There are many directions you can go in while creating your own design. You could try drawing a symmetrical or asymmetrical tree or adding in birds or other small animals. You can also try creating a night or day version of the tree by varying the color scheme, or try experimenting with different mediums.
Adding Details
Adding details to the tree can give a nice finishing touch to your cherry blossom tree. Start from the middle of the trunk and work your way out. Add shadows along the trunk and limbs for a more realistic effect. Then look for any gaps that need filling and add in leaves, petals, and clumps of flowers. You can also add details such as a few small rocks, fallen blossom petals, or even a butterfly or two to add more life to your cherry blossom tree.
Using Styles & Techniques
Drawing a cherry blossom tree can be done using different styles and techniques. One popular way to draw these trees is to use the pointillism technique. To do this, draw the trunk, limbs, and petals in different sizes of dots. Alternatively, you can use a sketching technique to draw the trunk and skilfully use your pencils to create the leaves and petals. No matter which style or technique you choose, remember that practice makes perfect!
Perspective from Experts
Experienced artists have different takeaways when it comes to drawing cherry blossom trees. They stress that patience and practice are key for creating a stunning piece of artwork. Many suggest that beginners should start with a pencil sketch before adding in color and details, as this will help them understand the structure of the tree. They also advise that the leaves and petals should be drawn individually, as this is a more precise approach and will help achieve the desired result.
Why Draw a Cherry Blossom Tree?
Drawing a cherry blossom tree can be a great way to express yourself artistically. It’s a beautiful and iconic image that evokes a feeling of tranquility and harmony. It’s also a great challenge and can help improve your drawing skills. Plus, the end result will be a stunning tree that you can look upon with pride and admiration.
Using References
Using references when drawing a cherry blossom tree can be extremely helpful. Look for photos or videos of cherry blossom trees to get an idea of how the tree should look in your drawing. Take note of the structure and shape and consider how to modify it to suit you. With references, you can draw more realistic looking trees more easily.
Tips
Drawing a cherry blossom tree doesn’t have to be a daunting task; here are a few tips to make it easier. Start of by lightly sketching the tree with your pencil – if it’s not quite right you can always erase and try again. Remember to draw the leaves and petals one by one. And take your time when adding in color; pay attention to the details, as this can give your tree a more realistic effect. Finally, don’t be afraid to experiment and get creative – you may just surprise yourself with the end results.


