Overview of Materials Required
Drawing cherry blossom trees can be a challenging task to undertake, so it is important to understand the materials that are required before attempting a realistic drawing. There are a variety of papers available which allow the artist to choose the best option for their drawing. High quality drawing paper is a must to ensure a good finish and bring out the details of the tree. Pencils should be chosen with care as they should be soft lead and also light enough to draw the fine details of the tree such as the leaves. To display the colours of the cherry blossom tree, a range of coloured pencils or watercoloours are ideal.
Techniques for Drawing the Cherry Blossom Tree
Once the materials have been chosen, it is time to start drawing. Start by sketching the silhouette of the cherry blossom tree, add the trunk and branches, remembering to be mindful of the size and shape of the tree. Once the outlines have been completed, start to draw the leaves. Moving from dark to light shades, layer up the leaves to build a 3 dimensional image. The realism of the tree is enhanced by repeating the process with lighter shades of green to show the sequence of a cherry blossom tree in full bloom.
A sketch of the cherry blossom petals can then be added onto the branches, creating a feeling of movement. Use the pencils to draw each petal individually and apply light shading to the petals to create the illusion of shimmering petals. Finally, use the watercolour or coloured pencils to complete the cherry blossom petals by adding hints of pink and white.
Creating Texture of the Tree
Once the sketch is finished and the cherry blossoms have been added, it is time to complete the background of the tree. Start by focussing on the trunk and branches, adding shades of brown and green to create realism and texture. For the background of the tree use cool colours and warm tones to create the illusion of light and shade, making sure to avoid sharp or bright colours which will be out of place.
The realism of the cherry blossom tree is enhanced by adding foliage to the tree, adding an extra depth to the drawing. Put details into these additional leaves and foliage, adding tones and texture to create a backdrop for the blossom petals.
Backgrounds and Trees
When drawing a cherry blossom tree, it is possible to create the illusion of a stunning scenery. For a detailed background, use a panoramic view of trees, applying a range of bright and dark colours to create shadows and light. Small details such as sunrays or the hint of a path can add extra dimension to the drawing and make the image stand out.
Textures and colours should be balanced in the background, making sure not to overcrowd the sky or ground with too many objects or colours. Think carefully about the elements of the scene and what would look best in order to enhance the drawing as a whole.
Using Reference Photos
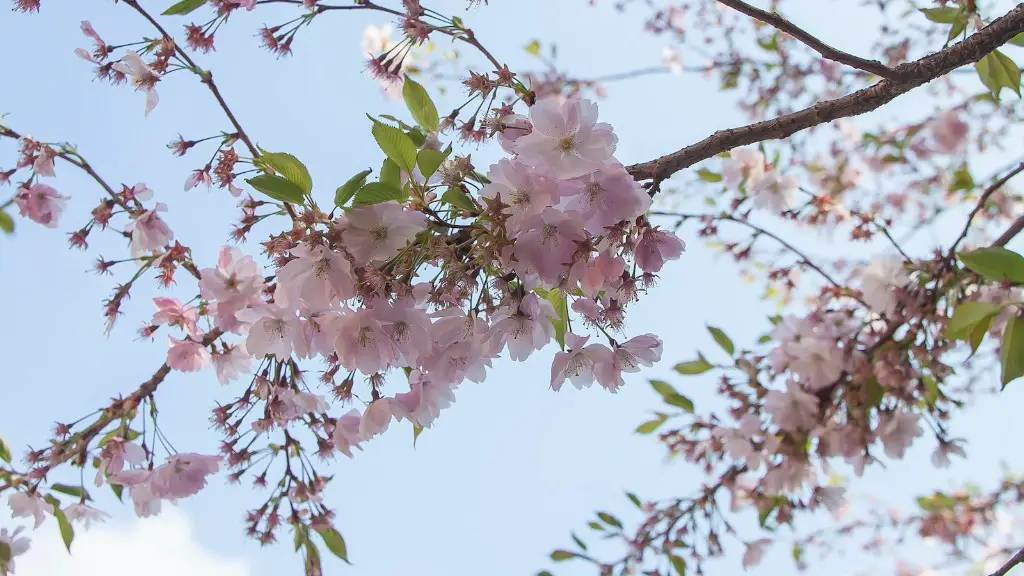
Reference photos are an invaluable source of help when drawing a realistic cherry blossom tree. Whether you choose to mimic a photo, or just use it as a guide, it is very helpful to have detailed images to work from. A good quality image will be densely packed with cherry blossom petals and foliage and can be used as a guide when it comes to achieving a realistic final outcome.
Adding Finishing Touches
Once the bulk of the drawing has been completed, it is time to add the finishing touches. These may include details such as birds and flowers, or other elements which can help complement the drawing. Be careful not to add too many details however, or the image may become crowded and hard to look at.
Other elements to consider adding to the cherry blossom tree could be the reflection of the petals in the water or wisps of cloud in the sky. Adding these subtle details can help to enhance the realism of the drawing, elevating the cherry blossom tree to the highest standard.
Adding Depth and Dimension to the Tree
The perfect way to add depth and dimension to the cherry blossom tree is to use shadowing and highlights. Pencils are best as they are softer than graphite and allow the artist to blend the shadows without being too heavy-handed.Shadows and highlights should be used to add more scale, weight and three-dimensionality to the drawing, ensuring it looks as realistic as possible.
Particular attention should be paid to the trunk and branches of the tree, as adding the right amount of shading to these will really help to bring the tree to life. Shading the petals can also be done if desired, however too much dark shading could detract from the beauty of the petals.
Bringing the Cherry Blossom Tree to Life
In order to bring a cherry blossom tree to life, the artist needs to have patience and be prepared to take the time to pay attention to the small details. Drawing should be steady and slow, making sure to keep the shading smooth and even and the lines consistent. The artist should practice reflection, pausing to look at the drawing as a whole and judge the composition and balance prior to fabrication.
Before beginning your drawing, it is important to make sure that you have a good understanding of the shapes and structure of the cherry blossom tree. This will enable you to create a realistic drawing which is well balanced and pleasing to look at. Drawing the cherry blossom tree is a time-consuming task and requires a lot of concentration, but it is a very rewarding exercise and one which can be immensely satisfying when the final drawing is complete.
Creating Captivating Colour Palettes
The colour palette chosen for drawing a cherry blossom tree can make or break the entire drawing. It is essential to pick a colour scheme which works with the background and tree structure and showcases the beauty of the petals. Colours should be chosen that will not only make the petals stand out, but will also create a sense of harmony with the environment in which the tree stands.
Pastel colours are an ideal choice for a cherry blossom tree as they will give the drawing a light and ethereal feel, while vibrant shades of pink, red and purple can be used to add a sense of energy to the drawing. The finished drawing should be alive with colour and should be captivating, striking a balance between the soft and vibrant shades making up the tree.
Applying the Finishing Touches
The final step before receiving the finished cherry blossom tree is to add the finishing touches. Small details such as leaves, grass, flowers and small birds can be added to the scenery, helping to complete the picture. Keep the details to a minimum however, and only include those which you feel will not disrupt the overall harmony and balance of the drawing.
The finished cherry blossom tree should be studied one final time to make sure that all elements have been included and all the small details have been taken into account. Once the artist is satisfied with the drawing, the cherry blossom tree can be hung proudly on the wall and should be a treasured part of the artist’s collection.

