Overview
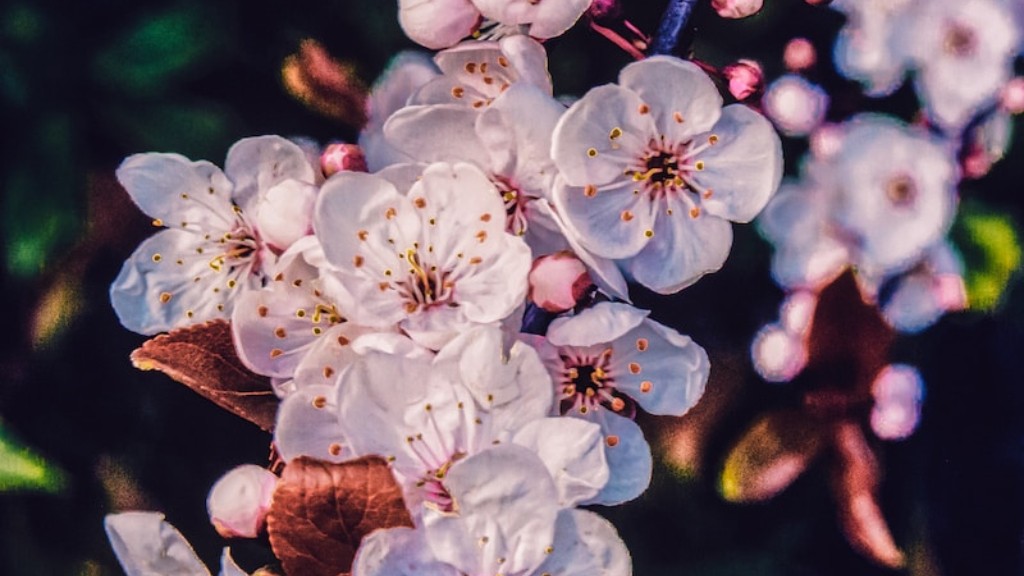
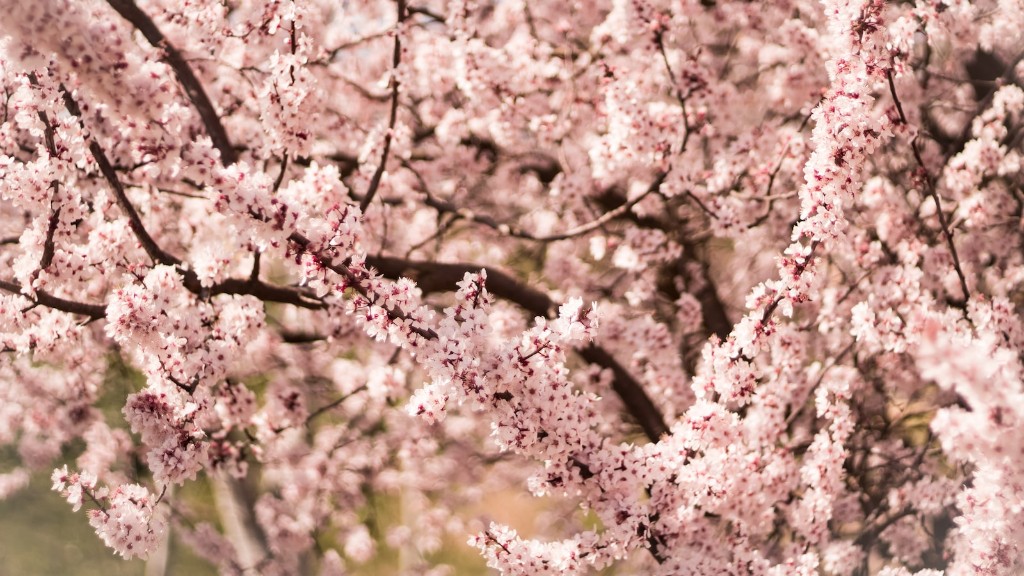
Cherry blossoms are a symbol of beauty and grace in many cultures around the world. These delicate flowers have captivated the hearts of millions, and can add a touch of sophistication to any environment. Drawing a cherry blossom tree may seem like a daunting task, but with the right techniques and a bit of practice anyone can learn to draw them. With patience and dedication, prospective artists can learn how to create a beautiful cherry blossom tree that is sure to be admired.
Supplies and Preparation
Before attempting to draw a cherry blossom tree, make sure that you have the necessary supplies. A good set of colored pencils, or watercolor paints will be needed, as well as a pencil for sketching the design of the tree before putting it onto paper or canvas. A ruler and an eraser will also come in handy, as will a cup of water in order to wet the paper and/or the brush when painting. Once all the supplies are gathered, decide what kind of cherry blossom tree to draw. Do you want it to be a traditional Japanese tree, or one more loosely based on the Eastern style? Will it be multi-colored or simply pink? Decide on the style of the tree before beginning.
Step by Step Procedure
Drawing a cherry blossom tree requires patience and dedication, but with the right approach it can be made much easier. To begin, sketch the outline of the tree trunk, making sure that it is smooth and even. Once this is completed, draw the branches of the tree, making sure that they all come out of the trunk at different angles. They should all be curved, with thinner end points. After that, add the blossoms to the tree. The blossoms should be drawn in an organic shape, rather than just circles. This will help to make the tree look more realistic. Finally, draw the leaves of the tree, making sure that they are uneven in size, and that they are shaded in such a way that light and shadows can be seen.
Adding Details and Color
Once the structure of the cherry blossom tree has been sketched out, it’s time to add the finishing touches. This is where the colored pencils and watercolors come in. Start by coloring in the blossoms of the tree. Traditional Japanese cherry blossom trees are usually a pastal pink, although anything can be used if a different style is desired. Make sure to vary the colors, adding darker and lighter hues to bring life and depth to the picture. Once this is done, add in the leaves of the tree. Make sure to shade them in such a way that it gives the illusion of volume, making the picture look more realistic.
Finishing Touches
Once the painting or drawing has been colored in, it’s time to go in with acrylic gels and glitter to add texture and sparkle to the tree. This is a great way to make the tree look even more amazing, as the light will catch and reflect off the gels and glitter, giving the tree an almost magical look. Once this is done, it’s time to take a few steps back and admire the beauty of the tree that has been created.
More Advanced Step by Step
For those who wish to take their cherry blossom tree drawing to the next level, some more advanced techniques can be used to make the tree look even more life like. When sketching the tree, start out with the trunk and branches. Make sure that both the trunk and branches look as though they have been created by nature, and not just sketched onto the paper. This is done by creating curves, taking breaks, and adding knots and other details. Once this is done go in with the color, adding in details such as mildewed bark and other subtle shades.
Adding Perspective
One of the most important aspects of any drawing is making sure that it looks realistic. When drawing a cherry blossom tree, a good way to do this is by adding perspective. This is done by subtly curving the lines of the trunk and branches, as if they are receding into the distance. This will help to give the image the illusion of depth, and make it look more life-like. The same can be done with the blossoms and leaves. Curving the petals and leaves will make the tree appear to be curving away from the viewer, adding further depth to the image.
Trimming and Touching Up
The last step in creating the perfect cherry blossom tree drawing is to make sure that all of the lines and shapes are crisp, and that there are no smudges or smears on the painting or drawing. Trim unnecessary lines, and remove any smudges that might have been created by the watercolors or pens. Finally, use an eraser to make sure that all of the extra lines are removed. Once all of these steps are completed, the cherry blossom tree drawing is ready to be admired.
Putting it All Together
Creating a beautiful cherry blossom tree drawing takes a lot of patience, but the end result is worth it. A few key steps can help to make the process easier, such as properly gathering supplies, sketching the tree before adding details, and adding depth and perspective to the image. Other steps, such as adding sparkles and colored pencils or paints can also help to bring life and beauty to the image. Trimming and erasing any unnecessary lines is the last step, and will ensure that the drawing will look the best it possibly can. With these steps and a bit of practice, anyone can learn to create a beautiful cherry blossom tree drawing.

