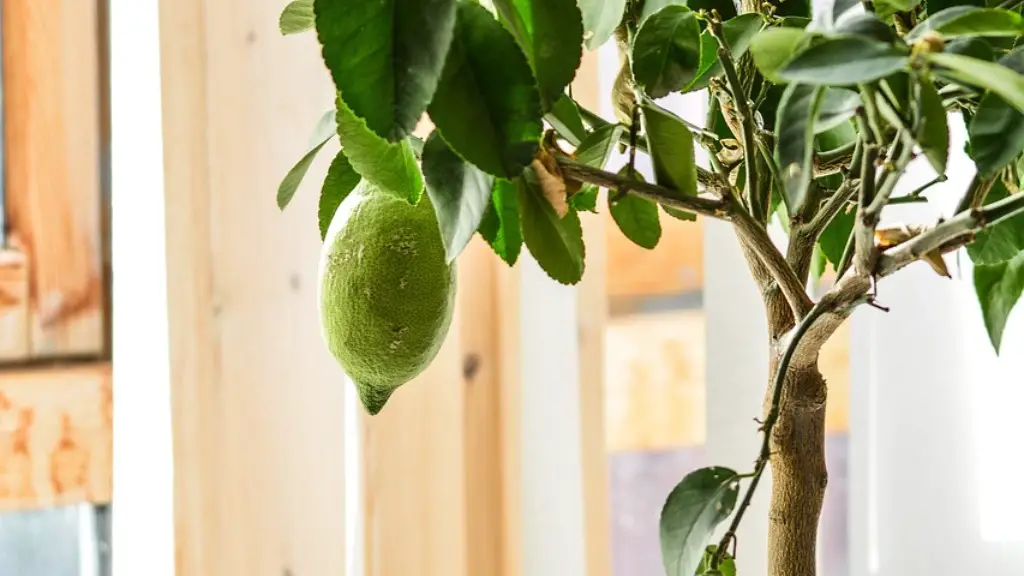
Learning how to draw a lemon tree step by step can be a fun and rewarding process. To begin, get a thin-tipped black permanent marker and a sheet of paper. Draw a large lemon tree, featuring a trunk and some basic branches with leaves. Include a few different shapes and sizes of lemons on the branches. Start with a small horizontal line to outline the base of the trunk, then add two vertical lines, one on either side, to give it some structure. Add some subtle shading to create a more realistic tree. Now draw the basic shape of the branches, leaves and lemons by lightly outlining the silhouette with a permanent marker. Use quick, fluid strokes to create a thick and thin line. Blend the lines into soft and smooth shapes. Add subtle details such as shading and bends in the branches. Next, draw something small, like a bird or an insect, at the bottom of the tree to give it a distinctive look. Finally, add your finishing touches such as some green to the leaves, some yellow to the lemons, and maybe even a bit of a light shadow to give it added dimension.
Adding Colors
Once you’re happy with your lemon tree’s outline, you can start to paint it with a brush and acrylic paint. Begin with the trunk and branches, adding various shades of brown for the bark. Using a light and dark brown combination of paint will give the tree a realistic look. Carefully apply the paint and blend the shades using smooth strokes, creating a unique look. Next add some green to your leaves, again, using a light and dark green combination of paint. Softly blend the shades together with quick strokes, before moving onto the lemons. When painting the lemons, begin with a lighter shade of yellow and gradually adding more yellow for a realistic effect. When you’ve added all the colors, let your painting dry. Once it’s completely dry, you can add some extra highlights and shadows to give the painting added depth and texture.
Protecting Your Painting
Before you’ll proudly display your artwork to the world, you’ll need to protect it. To do so, use two coats of clear acrylic glaze, which will not only give your painting a lustrous shine, but also protect it from fading or scratching. Finally, let it dry and you’ve done it! Your lemon tree painting is now ready to be enjoyed.
Crayon Version
Learning to draw a lemon tree with crayons can be a great way to practice your art skills. Start by gathering a selection of crayons in shades of yellow, brown, green, and white for their highlights. Begin by drawing the trunk in brown and adding stripes to the sides for texture. Then lightly draw the branches and leaves, adding some shading for a realistic look. Draw the lemons by adding a yellow circle to each branch, then draw small curves to add some depth. Once you’re happy with your outline, begin to slowly fill in the details, adding more shading and highlights. Finally, it’s time to make your lemon tree stand out by adding a few final touches, such as a small bug or bird.
Pastel Version
Using soft pastels is an easy way to bring your lemon tree to life. Start by gathering an assortment of pastels in different hues for the various elements of the tree. Begin drawing the trunk and branches, lightly sketching them in with a pencil first and then go over it with pastels. To give your tree more texture, use several different shades of green and brown. Once you’re satisfied with your tree’s structure, slowly fill in the details of the leaves and lemons with pastels, blending the colors together. Finally, highlight your lemon tree with soft whites, yellows and greens, and your masterpiece is complete!
Colored Pencil Version
Drawing a lemon tree with colored pencils is easy and can bring a realistic look to your artwork. First, gather the right supplies, including a few shades of yellow, green, and brown pencils. Begin by lightly sketching out the trunk and branches, then add some leaves and lemons. Fill in the details by blending the colors together to create shadows and highlights. Once your outline is complete, slowly fill in the details, adding shading, highlights and subtle details. Finally, use a white pencil for the highlights and your lemon tree is finished!
Marker Version
Creating a lemon tree with markers can be an enjoyable experience. Gather some black and brown markers with a fine tip, as well as some green and yellow markers with a medium tip for adding detail. Begin by drawing the trunk in black and add some detailing by using different kinds of lines. When you’re happy with your outline, add the leaves and lemons with quick, fluid strokes. Go over the trunk and branches with brown, and the leaves and lemons with green and yellow. Use smooth strokes to blend the colors together, creating subtle shadows and highlights. To finish off, add some fine detailing with a black marker. Now your lemon tree drawing is ready to show off!

